Yii緩存
緩存是提高應用程序性能的一個有效途徑。
緩存機制存儲靜態數據在緩存中,需要時就會從緩存讀取得到它。在服務器端可以使用緩存來存儲基本數據,如最近的新聞列表。
還可以將頁面片段或整個網頁緩存。
在客戶端,可以使用HTTP緩存保存最近訪問過的網頁在瀏覽器緩存。
準備數據庫
第1步 - 創建一個新的數據庫。數據庫可以通過以下兩種方式進行。
在終端運行 mysql -u root –p
登錄數據後,通過執行 CREATE DATABASE mystudy CHARACTER SET utf8 COLLATE utf8_general_ci; 創建一個新的數據庫;
第2步 - 在 config/db.php 文件中配置數據庫連接。下面的配置可根據自己的實際情況配置。
'yii\\db\\Connection', 'dsn' => 'mysql:host = localhost;dbname = mystudy', 'username' => 'root', 'password' => '', 'charset' => 'utf8', \]; ?>第3步 - 在項目根文件夾執行:yii migrate/create test_table 。此命令將用於創建管理數據庫數據庫遷移。 migrations文件會出現在項目的根的 migrations 文件夾中。
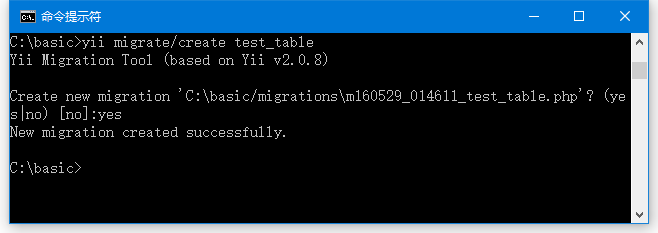
第4步 - 修改遷移文件(在本示例中生成的是:m160529_014611_test_table.php),並使用以下這些代碼。
createTable("user", \[ "id" => Schema::TYPE\_PK, "name" => Schema::TYPE\_STRING, "email" => Schema::TYPE\_STRING, \]); $this->batchInsert("user", \["name", "email"\], \[ \["User1", "[email protected]"\], \["User2", "[email protected]"\], \["User3", "[email protected]"\], \["User4", "[email protected]"\], \["User5", "[email protected]"\], \["User6", "[email protected]"\], \["User7", "[email protected]"\], \["User8", "[email protected]"\], \["User9", "[email protected]"\], \["User10", "[email protected]"\], \["User11", "[email protected]"\], \]); } public function down() { //$this->dropTable('user'); } } ?>上述遷移創建用戶表,它包含了以下這些字段:id, name, 和 email。它還增加了一些演示用戶帳號。
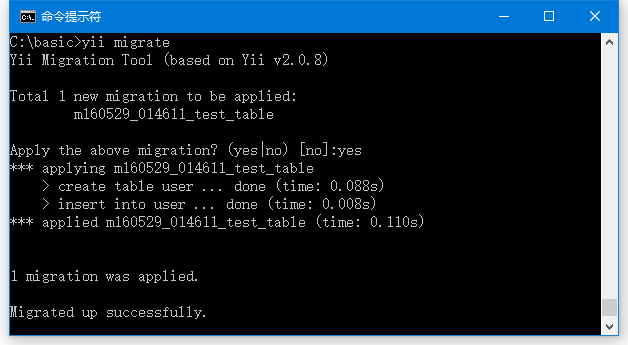
第5步 - 在項目的根目錄內運行: yii migrate 來遷移應用到數據庫。執行結果如下圖所示:
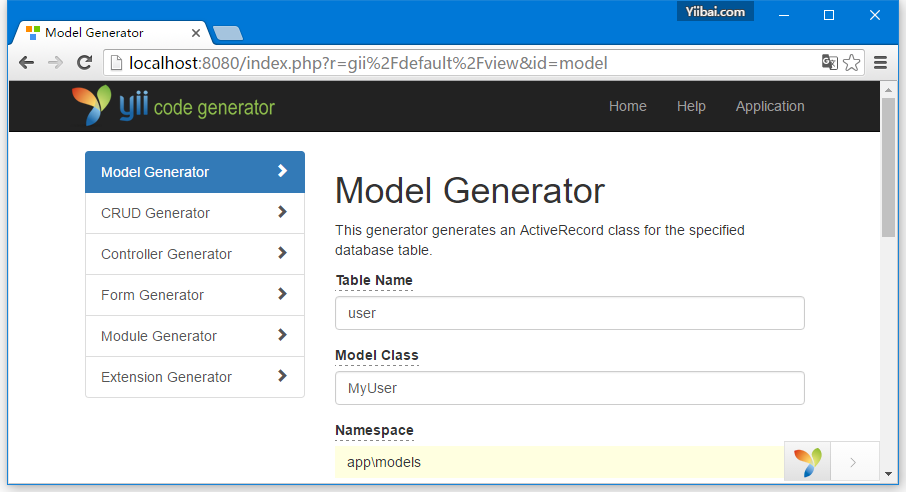
第6步-現在,我們需要爲user表創建模型。爲了簡便起見,我們將使用GII代碼生成工具。在瀏覽器中打開 url: http://localhost:8080/index.php?r=gii 。
然後,點擊 「Model generator」 下的 「Start」按鈕。 填寫表名(「user」)和模型類(「MyUser」),單擊「Preview」按鈕,最後點擊 「Generate」 按鈕。
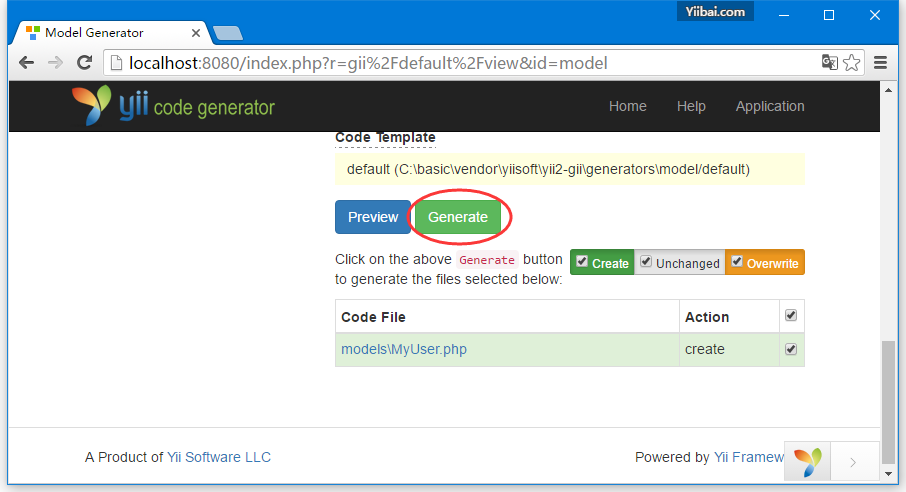
MyUser 文件憶經生成在 models 目錄。
數據緩存
數據緩存可在緩存中存儲 PHP 變量方便以後檢索。
數據緩存依賴於高速緩存部件,其通常註冊爲應用程序組件。
要訪問應用程序組件,可以調用 Yii::$app->cache。
可以註冊多個緩存應用程序組件。
Yii 支持以下高速緩存存儲器 -
yii\caching\DbCache − 使用一個數據庫表來存儲緩存數據
在yii\caching\DbCache::$cacheTable 必須指定創建一個表
yii\caching\ApcCache − 使用 PHP APC 擴展
yii\caching\FileCache − 使用文件來存儲緩存數據
yii\caching\DummyCache − 作爲高速緩存佔位其中確實沒有真正的緩存
這個組件的目的是爲了簡化檢查高速緩衝存儲器的可用性的代碼。
yii\caching\MemCache − 使用 PHP memcache 擴展
yii\caching\WinCache − 使用PHP WinCache 擴展
yii\redis\Cache − 實現了基於Redis的數據庫緩存組件
yii\caching\XCache −使用 PHP XCache 擴展
所有緩存組件支持下列API -
get() − 從緩存中檢索指定鍵對應的數據值。如果數據值已過期/無效或者沒有找到值,則將返回 false
add() − 如果該鍵沒有在高速緩存中找到,則保存到緩存該鍵和對應的數據值
set() − 保存到緩存的鍵識別對應數據值
multiGet() − 從緩存中使用指定多個鍵檢索對應多個數據值
multiAdd() − 在高速緩存中存儲多個數據值。每個項由一個鍵標識。如果一個鍵在緩存中已經存在,則數據值將會被跳過。
multiSet() − 在高速緩存中存儲多個數據值。每個項目由一個鍵來標識
exists() − 返回在緩存指定鍵是否找到對應值
flush() − 從緩存中刪除所有的數據值
delete() − 通過從緩存中的關鍵識別移除對應數據值
除非存儲在緩存中的數據值被刪除,否則它將永遠存在。可以調用 set()方法在存儲數據值時,設置過期參數。
緩存的數據值也可以因高速緩存相關性的變化而變成無效 -
yii\caching\DbDependency − 如果指定SQL語句的查詢結果發生改變,依賴也會發生改變。
yii\caching\ChainedDependency − 如果鏈上的依賴關係發生改變,依賴也會改變。
yii\caching\FileDependency − 如果文件的最後修改時間發生改變,依賴也會改變。
yii\caching\ExpressionDependency − 如果指定PHP表達式的結果發生改變,依賴也會改變。
現在,添加 cache 緩存應用組件到應用程序。
第1步 - 修改 conf/web.php 文件如下:
'basic', 'basePath' => dirname(\_\_DIR\_\_), 'bootstrap' => \['log'\], 'components' => \[ 'request' => \[ // !!! insert a secret key in the following (if it is empty) - this //is required by cookie validation 'cookieValidationKey' => 'yiibai.com', \], 'cache' => \[ 'class' => 'yii\\caching\\FileCache', \], 'user' => \[ 'identityClass' => 'app\\models\\User', 'enableAutoLogin' => true, \], 'errorHandler' => \[ 'errorAction' => 'site/error', \], 'mailer' => \[ 'class' => 'yii\\swiftmailer\\Mailer', // send all mails to a file by default. You have to set // 'useFileTransport' to false and configure a transport // for the mailer to send real emails. 'useFileTransport' => true, \], 'log' => \[ 'traceLevel' => YII\_DEBUG ? 3 : 0, 'targets' => \[ \[ 'class' => 'yii\\log\\FileTarget', 'levels' => \['error', 'warning'\], \], \], \], 'db' => require(\_\_DIR\_\_ . '/db.php'), \], 'modules' => \[ 'admin' => \[ 'class' => 'app\\modules\\admin\\Admin', \], \], 'params' => $params, \]; if (YII\_ENV\_DEV) { // configuration adjustments for 'dev' environment $config\['bootstrap'\]\[\] = 'debug'; $config\['modules'\]\['debug'\] = \[ 'class' => 'yii\\debug\\Module', \]; $config\['bootstrap'\]\[\] = 'gii'; $config\['modules'\]\['gii'\] = \[ 'class' => 'yii\\gii\\Module', \]; } return $config; ?>第2步 - 在控制器 SiteController 中添加一個新的 actionTestCache() 方法。
public function actionTestCache() {
$cache = Yii::$app->cache;
// try retrieving $data from cache
$data = $cache->get("my_cached_data");
if ($data === false) {
// $data is not found in cache, calculate it from scratch
$data = date("Y-m-d H:i:s");
// store $data in cache so that it can be retrieved next time
$cache->set("my_cached_data", $data, 30);
}
// $data is available here
var_dump($data);
}
第3步 - 在Web瀏覽器的地址欄訪問: http://localhost:8080/index.php?r=site/test-cache ,將會看到以下內容。
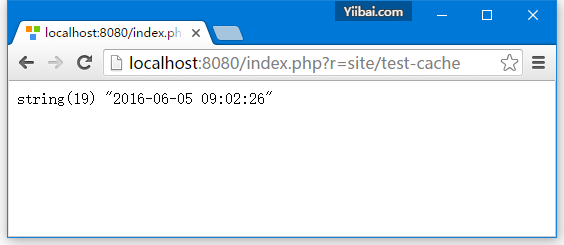
第4步 - 如果重新載入頁面,應該注意到的日期沒有改變。日期值緩存將在30秒內過期。 30秒後刷新頁面。
查詢緩存
查詢緩存爲您提供緩存數據庫查詢的結果。查詢緩存需要一個數據庫連接和緩存應用組件。
第1步 - 添加一個新的 actionQueryCaching()方法到 SiteController 控制器中。
public function actionQueryCaching() {
$duration = 10;
$result = MyUser::getDb()->cache(function ($db) {
return MyUser::find()->count();
}, $duration);
var_dump($result);
$user = new MyUser();
$user->name = "cached user name";
$user->email = "cacheduseremail@gmail.com";
$user->save();
echo "==========";
var_dump(MyUser::find()->count());
}
在上面的代碼,我們緩存數據庫查詢,添加新的用戶並顯示用戶數。
第2步 - 打開URL: http://localhost:8080/index.php?r=site/query-caching ,並重新加載頁面。
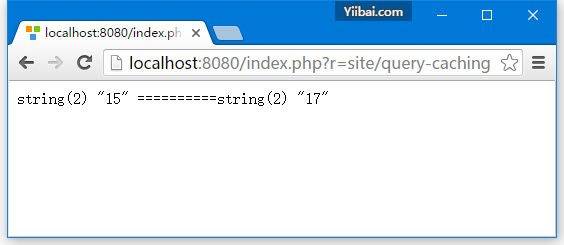
當我們第一次打開該頁面,數據庫查詢會緩存並顯示給所有用戶數。
當我們刷新頁面,緩存數據庫查詢的結果是相同的,這是因爲數據庫查詢被緩存過了。
也可以使用以下命令從控制檯刷新緩存 -
yii cache − 顯示可用緩存組件
yii cache/flush cache1 cache2 cache3 −刷新緩存組件:cache1,cache2 和 cache3
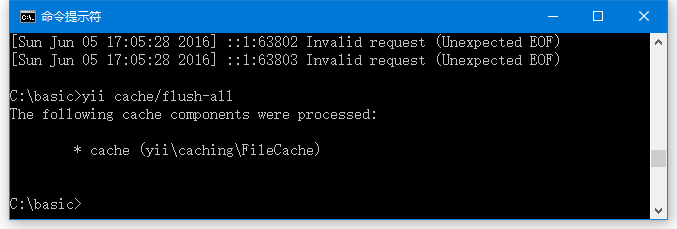
yii cache/flush-all − 刷新所有緩存組件
第3步 - 在應用程序的根目錄運行: yii cache/flush-all