Spring Boot – 使用 Testcontainers 進行 Keycloak 集成測試
一、簡介
在驗證應用程序是否正常工作時,集成測試至關重要。此外,我們應該正確測試身份驗證,因為它是一個敏感部分。 Testcontainers 允許我們在測試階段啟動 Docker 容器,以針對實際技術堆棧運行我們的測試。
在本文中,我們將了解如何使用 Testcontainers 針對實際的 Keycloak 實例設置集成測試。
2. 使用 Keycloak 設置 Spring Security
我們需要設置 Spring Security、Keycloak 配置,最後是 Testcontainers。
2.1。設置 Spring Boot 和 Spring Security
感謝 Spring Security,讓我們從設置安全性開始。我們需要spring-boot-starter-security依賴項。讓我們將它添加到我們的 pom 中:
<dependency>
 <groupId>org.springframework.boot</groupId>
 <artifactId>spring-boot-starter-security</artifactId>
 </dependency>
我們將使用 spring-boot 父 pom。因此,我們不需要指定在其依賴項管理中指定的庫的版本。
接下來,讓我們創建一個簡單的控制器來返回一個用戶:
@RestController
 @RequestMapping("/users")
 public class UserController {

 @GetMapping("me")
 public UserDto getMe() {
 return new UserDto(1L, "janedoe", "Doe", "Jane", "[email protected]");
 }
}此時,我們有一個安全控制器來響應“ /users/me”上的請求。啟動應用程序時,Spring Security 為用戶“user”生成密碼,在應用程序日誌中可見。
2.2.配置密鑰斗篷
啟動本地 Keycloak 的最簡單方法是使用 Docker 。讓我們運行一個已配置管理員帳戶的 Keycloak 容器:
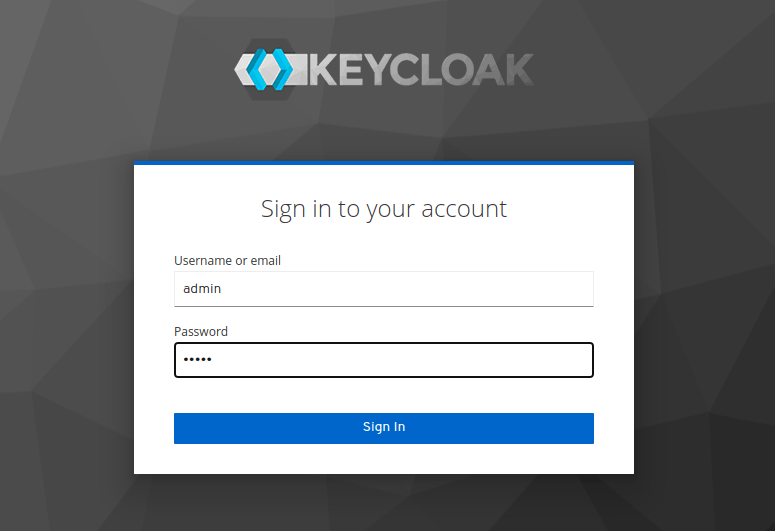
docker run -p 8081:8080 -e KEYCLOAK_ADMIN=admin -e KEYCLOAK_ADMIN_PASSWORD=admin quay.io/keycloak/keycloak:17.0.1 start-dev讓我們打開瀏覽器訪問 URL http://localhost:8081以訪問 Keycloak 控制台:
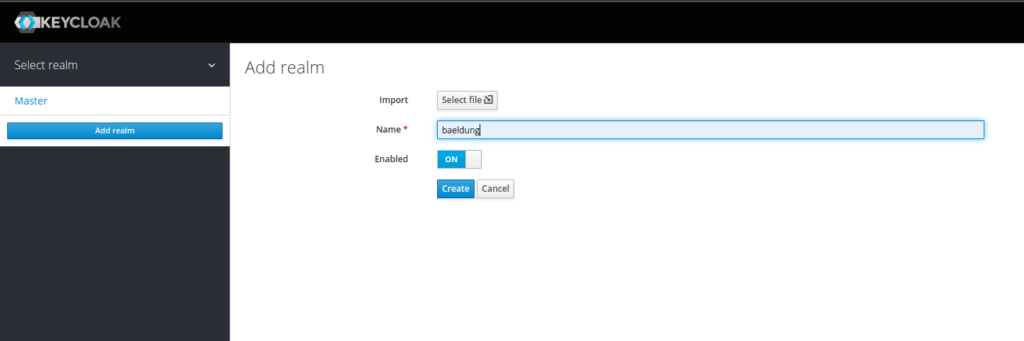
接下來,讓我們創建我們的領域。我們稱之為baeldung:
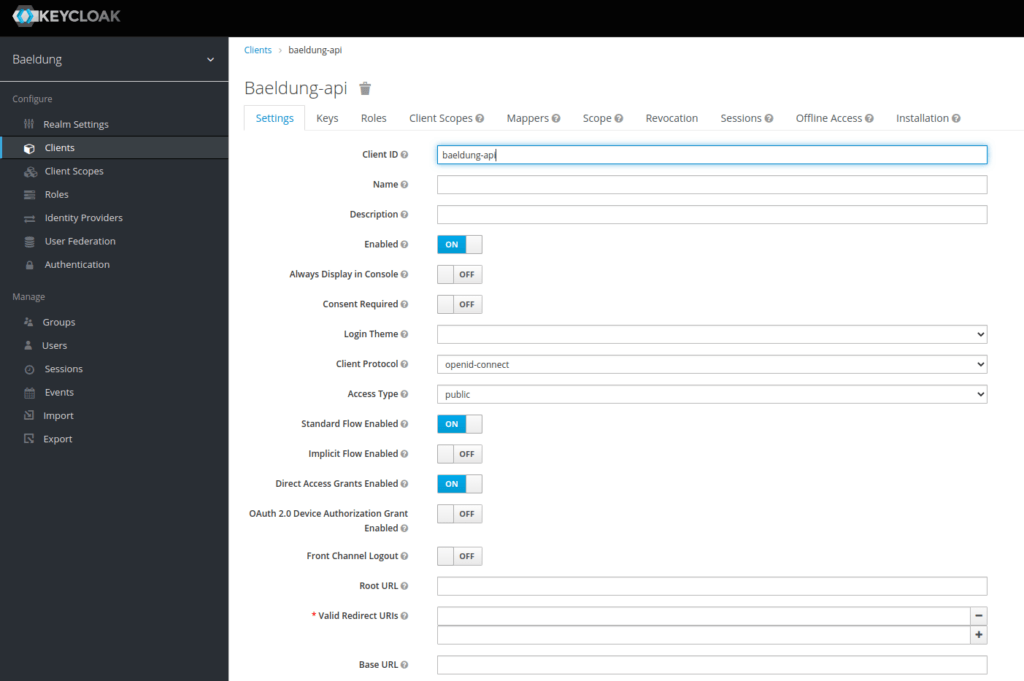
我們需要添加一個客戶端,我們將其命名為 baeldung-api:
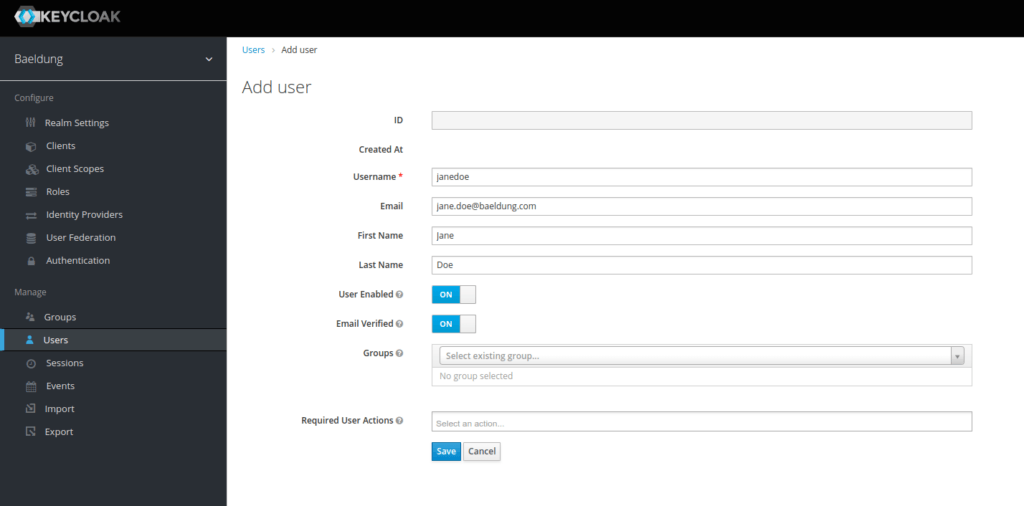
最後,讓我們使用“用戶”菜單添加 Jane Doe 用戶:
現在我們已經創建了用戶,我們必須為它分配一個密碼。讓我們選擇 s3cr3t 並取消選中臨時按鈕:
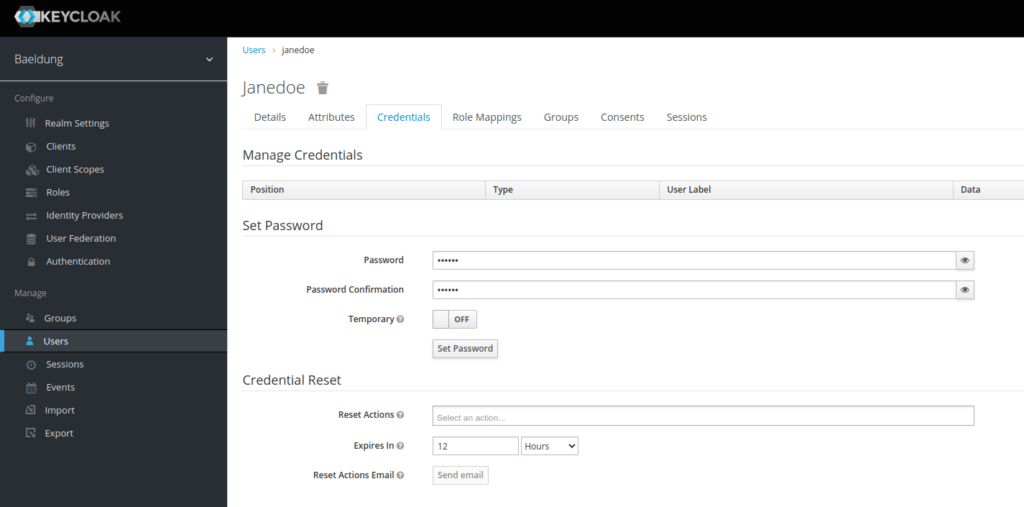
我們現在已經使用 baeldung-api 客戶端和 Jane Doe 用戶設置了我們的 Keycloak 領域。
我們接下來將配置 Spring 以使用 Keycloak 作為身份提供者。
2.3.將兩者放在一起
首先,我們將識別控制委託給 Keycloak 服務器。為此,我們將使用一個方便的啟動器keycloak-spring-boot-starter 。因此,讓我們將它添加到我們的 pom 中:
<dependency>
 <groupId>org.keycloak</groupId>
 <artifactId>keycloak-spring-boot-starter</artifactId>
</dependency>我們還需要keycloak-adapter-bom依賴項。具體來說,它添加了主適配器以充分使用 Spring 自動配置,以及連接 Keycloak 和不同 Web 容器(包括 Tomcat)所需的庫:
<dependencyManagement>
 <dependencies>
 <dependency>
 <groupId>org.keycloak.bom</groupId>
 <artifactId>keycloak-adapter-bom</artifactId>
 <version>${keycloak-adapter.version}</version>
 <type>pom</type>
 <scope>import</scope>
 </dependency>
 </dependencies>
 </dependencyManagement>
然後,讓我們創建一個使用 Spring 屬性來配置 Keycloak 適配器的配置類。
@Configuration
 public class KeycloakConfiguration {

 @Bean
 public KeycloakSpringBootConfigResolver keycloakConfigResolver() {
 return new KeycloakSpringBootConfigResolver();
 }
 }
讓我們繼續配置 Spring Security 以使用 Keycloak 配置:
@KeycloakConfiguration
 @ConditionalOnProperty(name = "keycloak.enabled", havingValue = "true", matchIfMissing = true)
 public class KeycloakSecurityConfiguration extends KeycloakWebSecurityConfigurerAdapter {

 @Autowired
 public void configureGlobal(AuthenticationManagerBuilder auth) {
 auth.authenticationProvider(keycloakAuthenticationProvider());
 }

 @Bean
 @Override
 protected SessionAuthenticationStrategy sessionAuthenticationStrategy() {
 return new NullAuthenticatedSessionStrategy();
 }

 @Override
 protected void configure(HttpSecurity http) throws Exception {
 super.configure(http);

 http.csrf()
 .disable()
 .cors()
 .and()
 .authorizeRequests()
 .anyRequest()
 .authenticated();
 }
}我們正在構建一個帶有僅承載身份驗證的無狀態應用程序。出於這個原因,我們將使用NullAuthenticatedSessionStrategy作為會話策略。此外, @ConditionalOnProperty允許我們通過將keycloak.enable屬性設置為false來禁用 Keycloak 配置。
最後,讓我們在application.properties文件中添加連接 Keycloak 所需的配置:
keycloak.enabled=true
 keycloak.realm=baeldung
 keycloak.resource=baeldung-api
 keycloak.auth-server-url=http://localhost:8081
我們的應用程序現在是安全的,並在每個請求上查詢 Keycloak 以驗證身份驗證。
3. 為 Keycloak 設置測試容器
3.1。導出領域配置
Keycloak 容器在沒有任何配置的情況下啟動。因此,我們必須在容器作為 JSON 文件啟動時導入它。讓我們從當前運行的實例中導出這個文件:
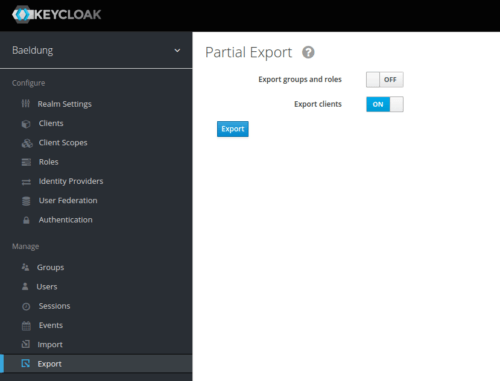
不幸的是,Keycloak 不會導出用戶。在這種情況下,我們必須手動編輯生成的realm-export.json文件並將我們的 Jane Doe 添加到其中。讓我們在最後一個花括號之前添加這個配置:
"users": [
 {
 "username": "janedoe",
 "email": "[email protected]",
 "firstName": "Jane",
 "lastName": "Doe",
 "enabled": true,
 "credentials": [
 {
 "type": "password",
 "value": "s3cr3t"
 }
 ],
 "clientRoles": {
 "account": [
 "view-profile",
 "manage-account"
 ]
 }
 }
]讓我們將realm-export.json文件包含到項目中的src/test/resources/keycloak文件夾中。我們將在啟動 Keycloak 容器時使用它。
3.2.設置測試容器
讓我們添加testcontainers依賴項以及testcontainers-keycloak ,它允許我們啟動 Keycloak 容器:
<dependency>
 <groupId>com.github.dasniko</groupId>
 <artifactId>testcontainers-keycloak</artifactId>
 <version>2.1.2</version>
 <scope>test</scope>
 </dependency>
 <dependency>
 <groupId>org.testcontainers</groupId>
 <artifactId>testcontainers</artifactId>
 <version>1.16.3</version>
 </dependency>
接下來,讓我們創建一個類,我們的所有測試都將從該類派生。我們使用它來配置由 Testcontainers 啟動的 Keycloak 容器:
@SpringBootTest(webEnvironment = WebEnvironment.RANDOM_PORT)
 public abstract class IntegrationTest {

 static final KeycloakContainer keycloak = new KeycloakContainer().withRealmImportFile("keycloak/realm-export.json");
}靜態聲明我們的容器將確保它為我們所有的測試實例化一次。我們使用 KeycloakContainer 對像中的withRealmImportFile方法指定要在啟動時導入的領域配置KeycloakContainer
3.3. Spring Boot 測試配置
現在,讓我們在測試開始時啟動 Keycloak 容器。它使用隨機端口。因此,一旦啟動,我們需要覆蓋在application.properties中定義的keycloak.auth-server-url配置。為此,我們將在刷新上下文之前實現一個由 Spring 觸發的回調接口:
static class Initializer implements ApplicationContextInitializer<ConfigurableApplicationContext> {

 public void initialize(ConfigurableApplicationContext configurableApplicationContext) {
 keycloak.start();
 TestPropertyValues.of("keycloak.auth-server-url=" + keycloak.getAuthServerUrl())
 .applyTo(configurableApplicationContext.getEnvironment());
 }
 }
我們還需要告訴 Spring 使用這個類來初始化它的上下文。讓我們在類級別添加此註釋:
@ContextConfiguration(initializers = { IntegrationTest.Initializer.class })4. 創建集成測試
現在我們已經有了負責啟動 Keycloak 容器和配置 Spring 屬性的主要測試類,讓我們創建一個調用User控制器的集成測試。
4.1。獲取訪問令牌
首先,讓我們在抽像類 IntegrationTest 中添加一個使用 Jane Doe 憑證請求令牌的方法:
URI authorizationURI = new URIBuilder(keycloak.getAuthServerUrl() + "/realms/baeldung/protocol/openid-connect/token").build();
 WebClient webclient = WebClient.builder().build();
 MultiValueMap<String, String> formData = new LinkedMultiValueMap<>();
 formData.put("grant_type", Collections.singletonList("password"));
 formData.put("client_id", Collections.singletonList("baeldung-api"));
 formData.put("username", Collections.singletonList("[email protected]"));
 formData.put("password", Collections.singletonList("s3cr3t"));

 String result = webclient.post()
 .uri(authorizationURI)
 .contentType(MediaType.APPLICATION_FORM_URLENCODED)
 .body(BodyInserters.fromFormData(formData))
 .retrieve()
 .bodyToMono(String.class)
 .block();
在這裡,我們使用 Webflux 的 WebClient 來發布一個包含獲取訪問令牌所需的不同參數的表單。
最後,我們將解析 Keycloak 服務器響應以從中提取令牌。具體來說,我們生成一個包含Bearer關鍵字的經典身份驗證字符串,然後是令牌的內容,準備在標頭中使用:
JacksonJsonParser jsonParser = new JacksonJsonParser();
 return "Bearer " + jsonParser.parseMap(result)
 .get("access_token")
 .toString();
4.2.創建集成測試
讓我們針對我們配置的 Keycloak 容器快速設置集成測試。我們將使用 RestAssured 和 Hamcrest 進行測試。讓我們添加放心依賴:
<dependency>
 <groupId>io.rest-assured</groupId>
 <artifactId>rest-assured</artifactId>
 <scope>test</scope>
</dependency>我們現在可以使用抽象的IntegrationTest類創建我們的測試:
@Test
 void givenAuthenticatedUser_whenGetMe_shouldReturnMyInfo() {

 given().header("Authorization", getJaneDoeBearer())
 .when()
 .get("/users/me")
 .then()
 .body("username", equalTo("janedoe"))
 .body("lastname", equalTo("Doe"))
 .body("firstname", equalTo("Jane"))
 .body("email", equalTo("[email protected]"));
}結果,我們從 Keycloak 獲取的訪問令牌被添加到請求的 Authorization 標頭中。
5. 結論
在本文中,我們針對由 Testcontainers 管理的實際 Keycloak 設置集成測試。每次啟動測試階段時,我們都會導入一個領域配置以擁有一個預配置的環境。
像往常一樣,本文中使用的所有代碼示例都可以在 GitHub 上找到。